Use the Bazaar Tools
What is an Environment?
An Environment is a logically grouped set of containers distributed across one or multiple peers that share the same network (they belong to the same p2p swarm - see more on p2p). An environment can host a number of applications.
Environments are based on templates - basic software packages that provide a set of functionalities and can be extended to whatever you may need. For instance, there are templates that allow you to deploy a Debian server image to a Subutai Environment. You can use the templates already available in the PeerOS and Bazaar, or you can even create your own: create templates from CLI or create templates from the Management Console.
Create an Environment
The first thing you need in order to create an Environment is to sign in to the Subutai Bazaar. Any Environment needs at least one Peer on which to run. You can lease or rent other people’s Peers (start by checking the Peers) page and adding some of them to your list of Favorites), or you can add your own Peers to Subutai Bazaar. If you want to have shell acces to your Environments, make sure you have the Control Center installed on your desktop system, and the E2E plugin for your browser with a properly configured PGP key. Once you have all of this - account on Bazaar, peer, and when needed control center, e2e plugin + pgp key setup and configured, you can start with the environment creation.
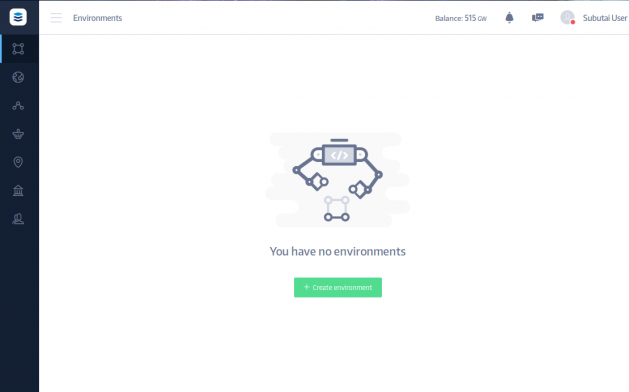
Go to Subutai Bazaar, click the “Environments” button in the left sidebar, then click “create environment”:

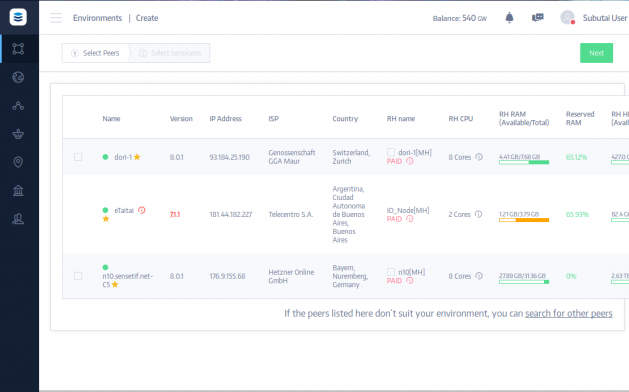
After, that, you will be redirected to the Peer selection page, where you can pick one ore more Peers to host your Environment. The list shows whatever resources (RAM, CPU, HDD) they have to offer. You can pick from: your own Peers, favorites or ones shared with you by friends or colleagues.

Check your Peer(s) and press the “next” button.
Then, you will be directed to the Template selection page. There you will have the option to choose one or more system templates for your Environment. Please note that you can add your own template and use it - you can do this in the CDN section.
You can also choose the size of your container - tiny, small, medium, large or huge. And you can easily rename the container’s default name. After you added the template(s) you want, click “save” button, select the name for your environment, press “save” again and at the last step press “build” button.
Next step you have is “under modification” state, which means that your environment is being created. It make take some time before the environment is built as some templates are big.
If all the steps are done properly, containers are built. You will see “ready” in state field and your environment will be “healthy”:

So, now you have your environment and you are ready now to install software you like there. Then, to make it accessible by a domain name, please go to the “Container Port Mapping” page and press “Add new port” button. There you can specify protocol, ports, domain name and pick a container (if your peer is behind NAT, Bazaar will pick up a proxy automatically).
When all is ready, you will be able to access your container via its domain name. If you click it, you will have your container (Apache in the example) opened in the browser.
Congratulations! You are now ready to use your environment!
What now? You can access your environment straight from your desktop! For this, you need to install and set up the following components: Subutai P2P daemon and Subutai Control Center. After installing them, please log into the Control Center using your Bazaar website’s account. Then, to access your Environment, you need to generate SSH keys, or add existing SSH keys to your environments:
So when all is up and running, you can SSH into your container via Control Center, by opening its Environment menu, choosing the environment you like and clicking it.
Once your SSH button is active (white and clickable), you can click it and then a terminal will be opened and you will have access to your container!